How do you save your thumbs as a massage therapist?
Add more thumbs to you hand by incorporating massage tools.
But not just any massage tool.
I’m specifically talking about massage tools that have a handle and a stem.
Why?
Because a handle makes the tool easy to hold, and a stem does a fantastic job of simulating a thumb.
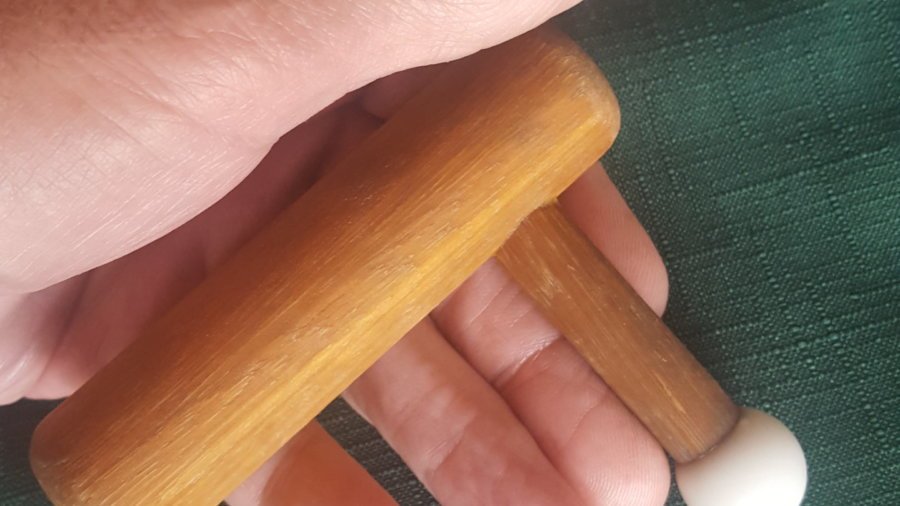
Here what tools with handles look like:
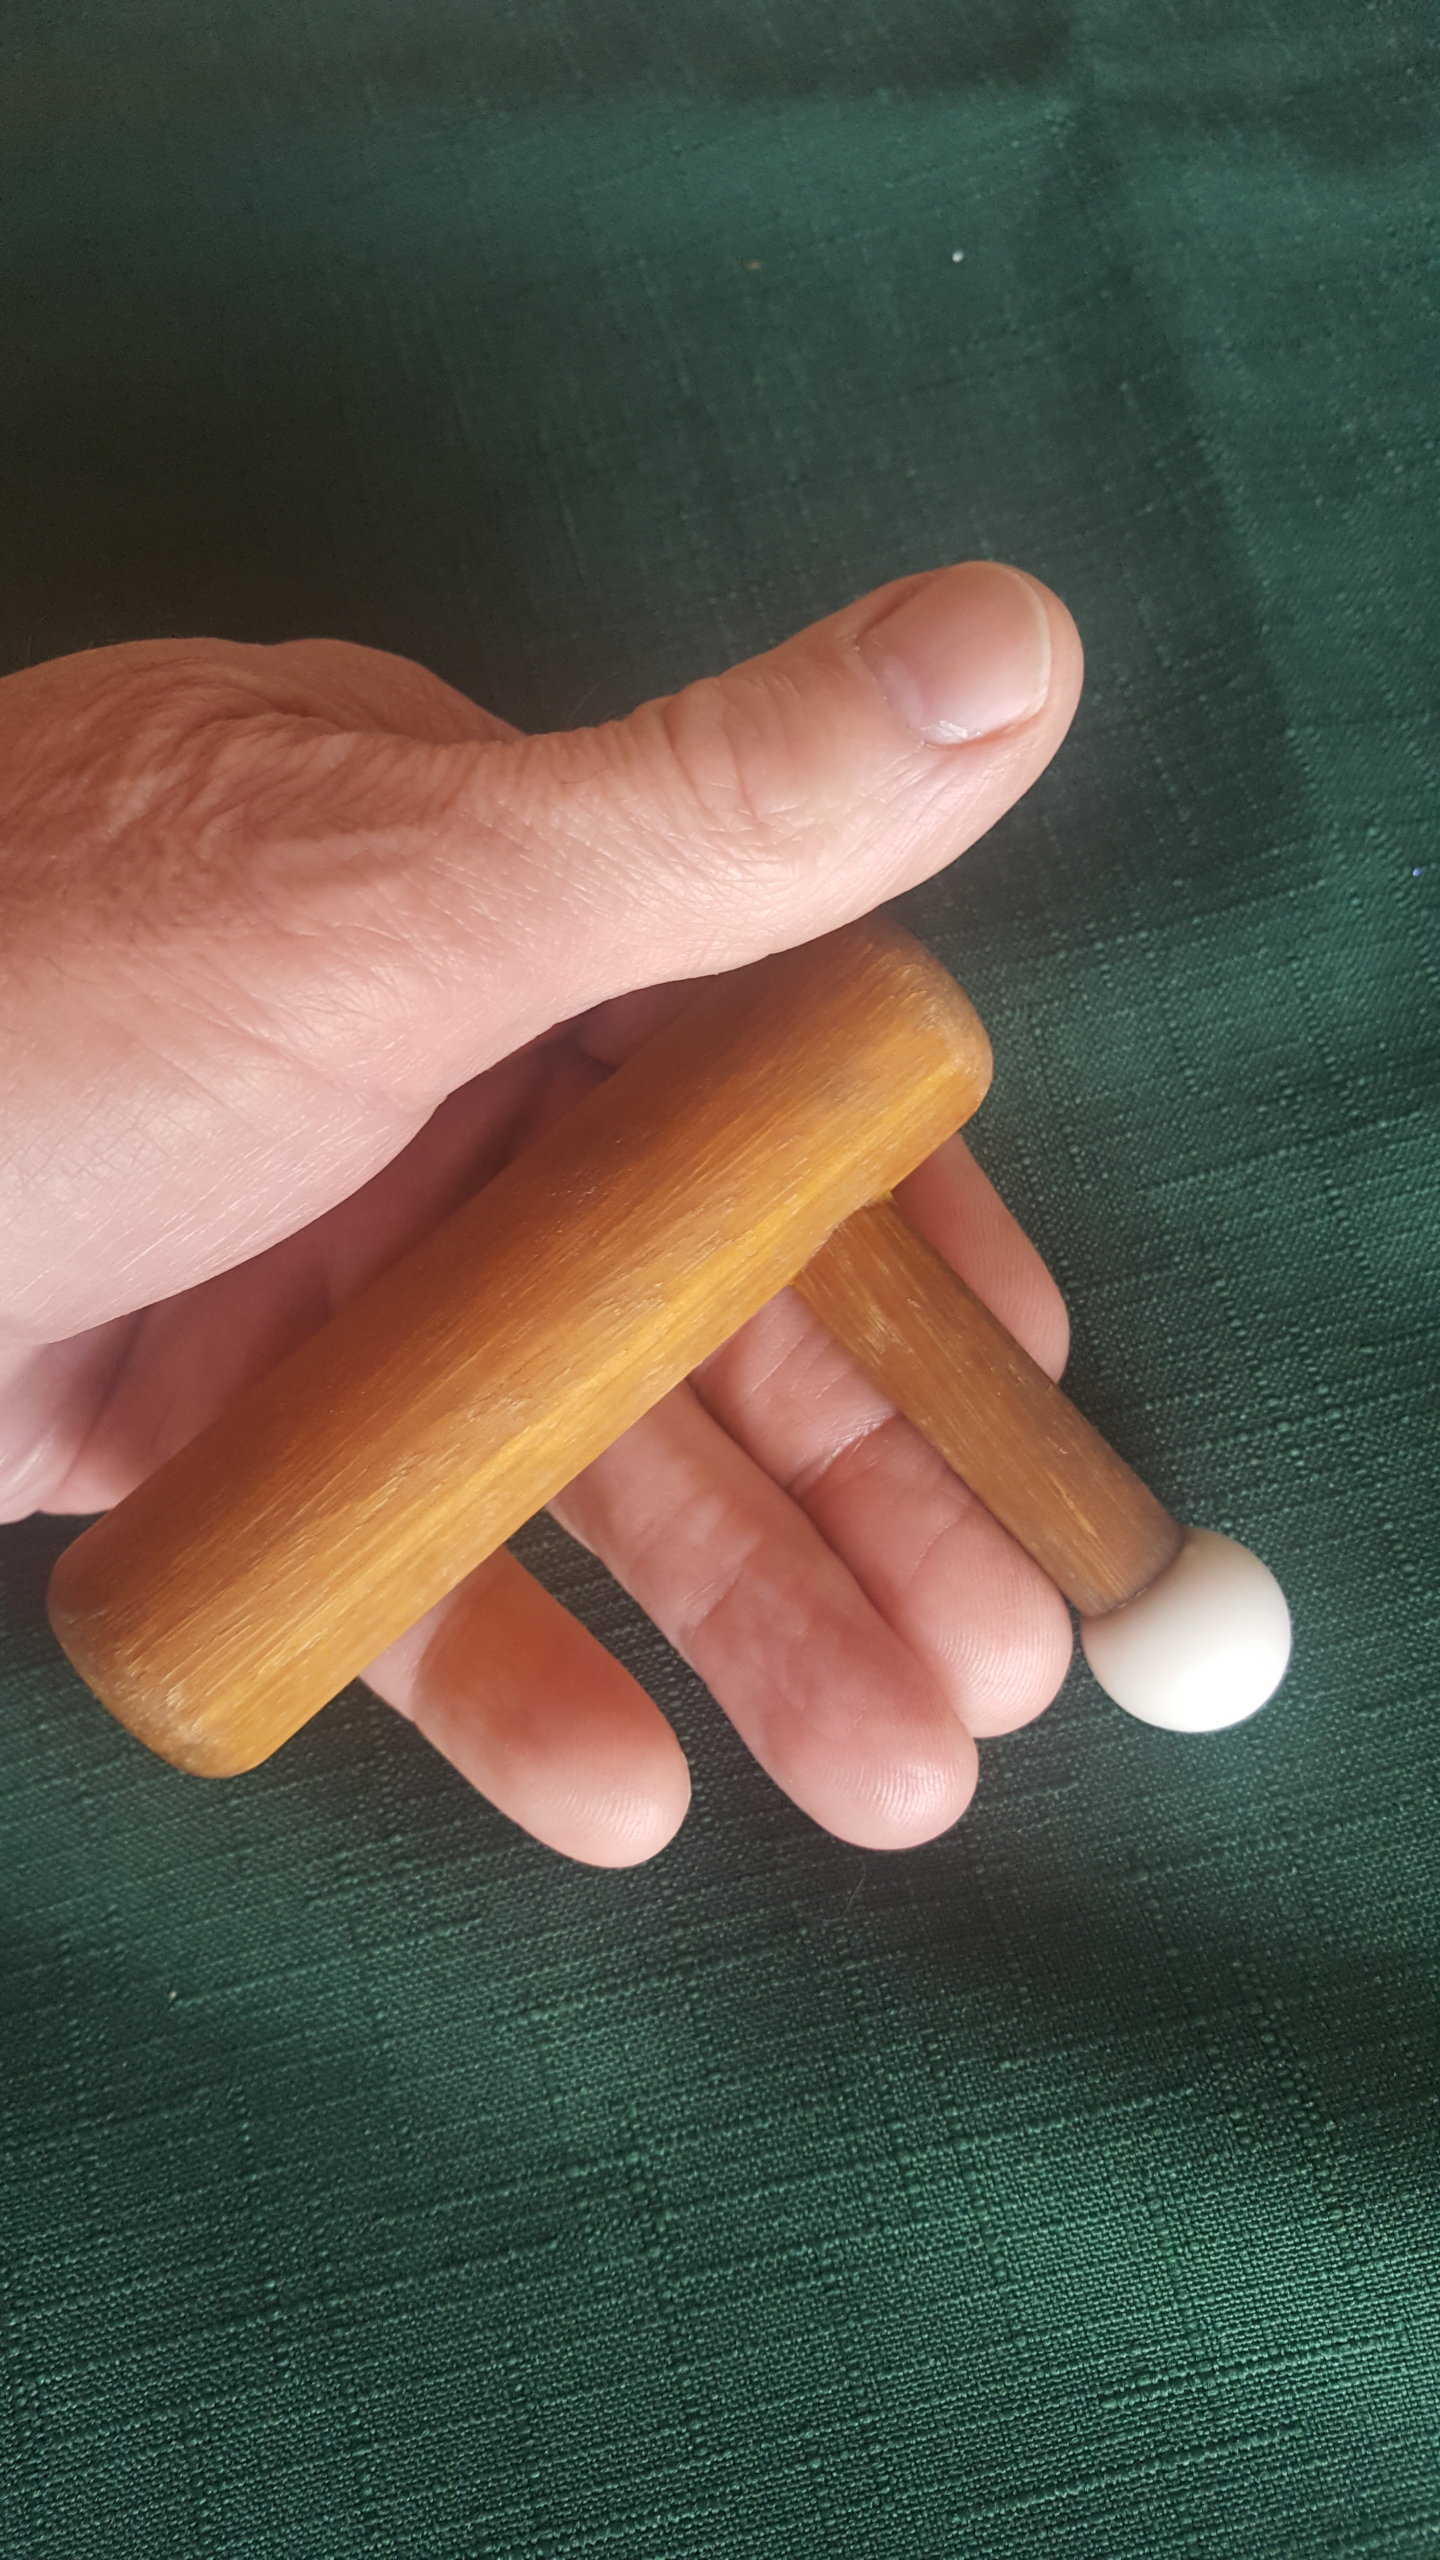
That’s a round tip L-bar.
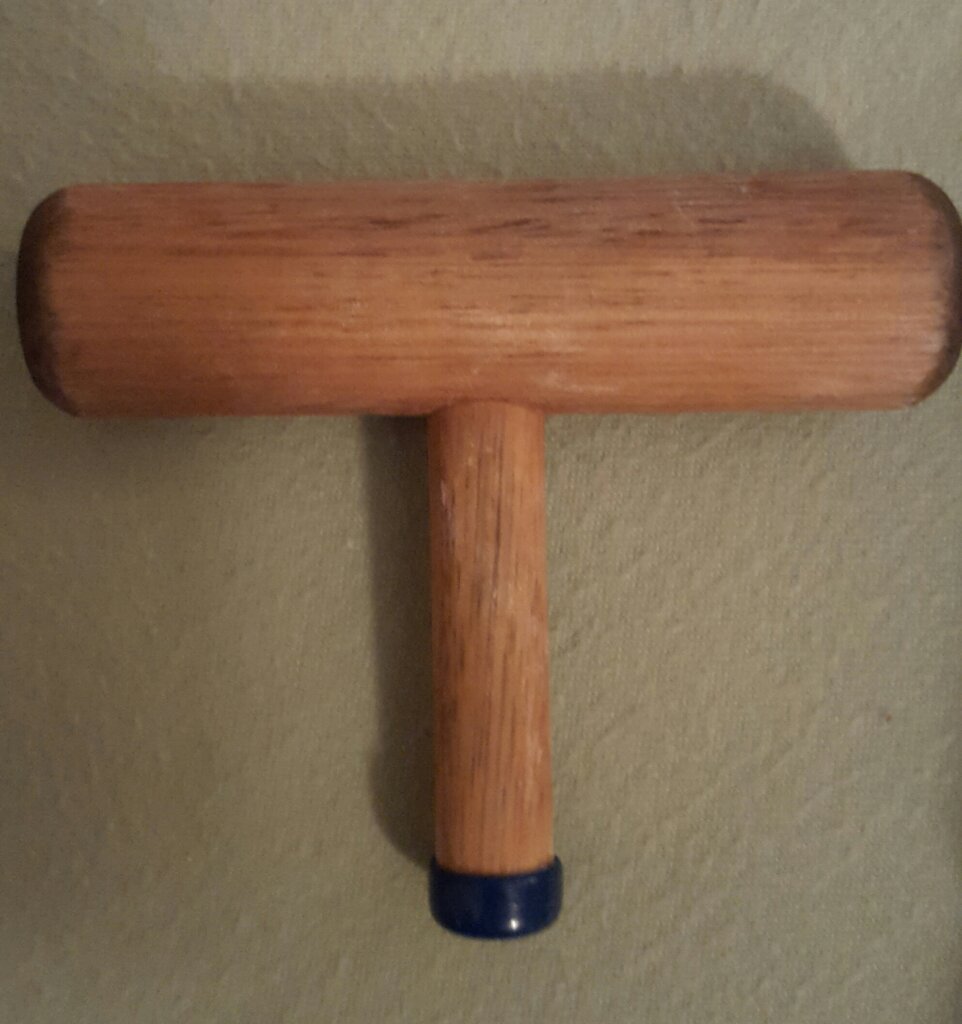
Here’s a T-bar:
And here’s a long stem L-bar:
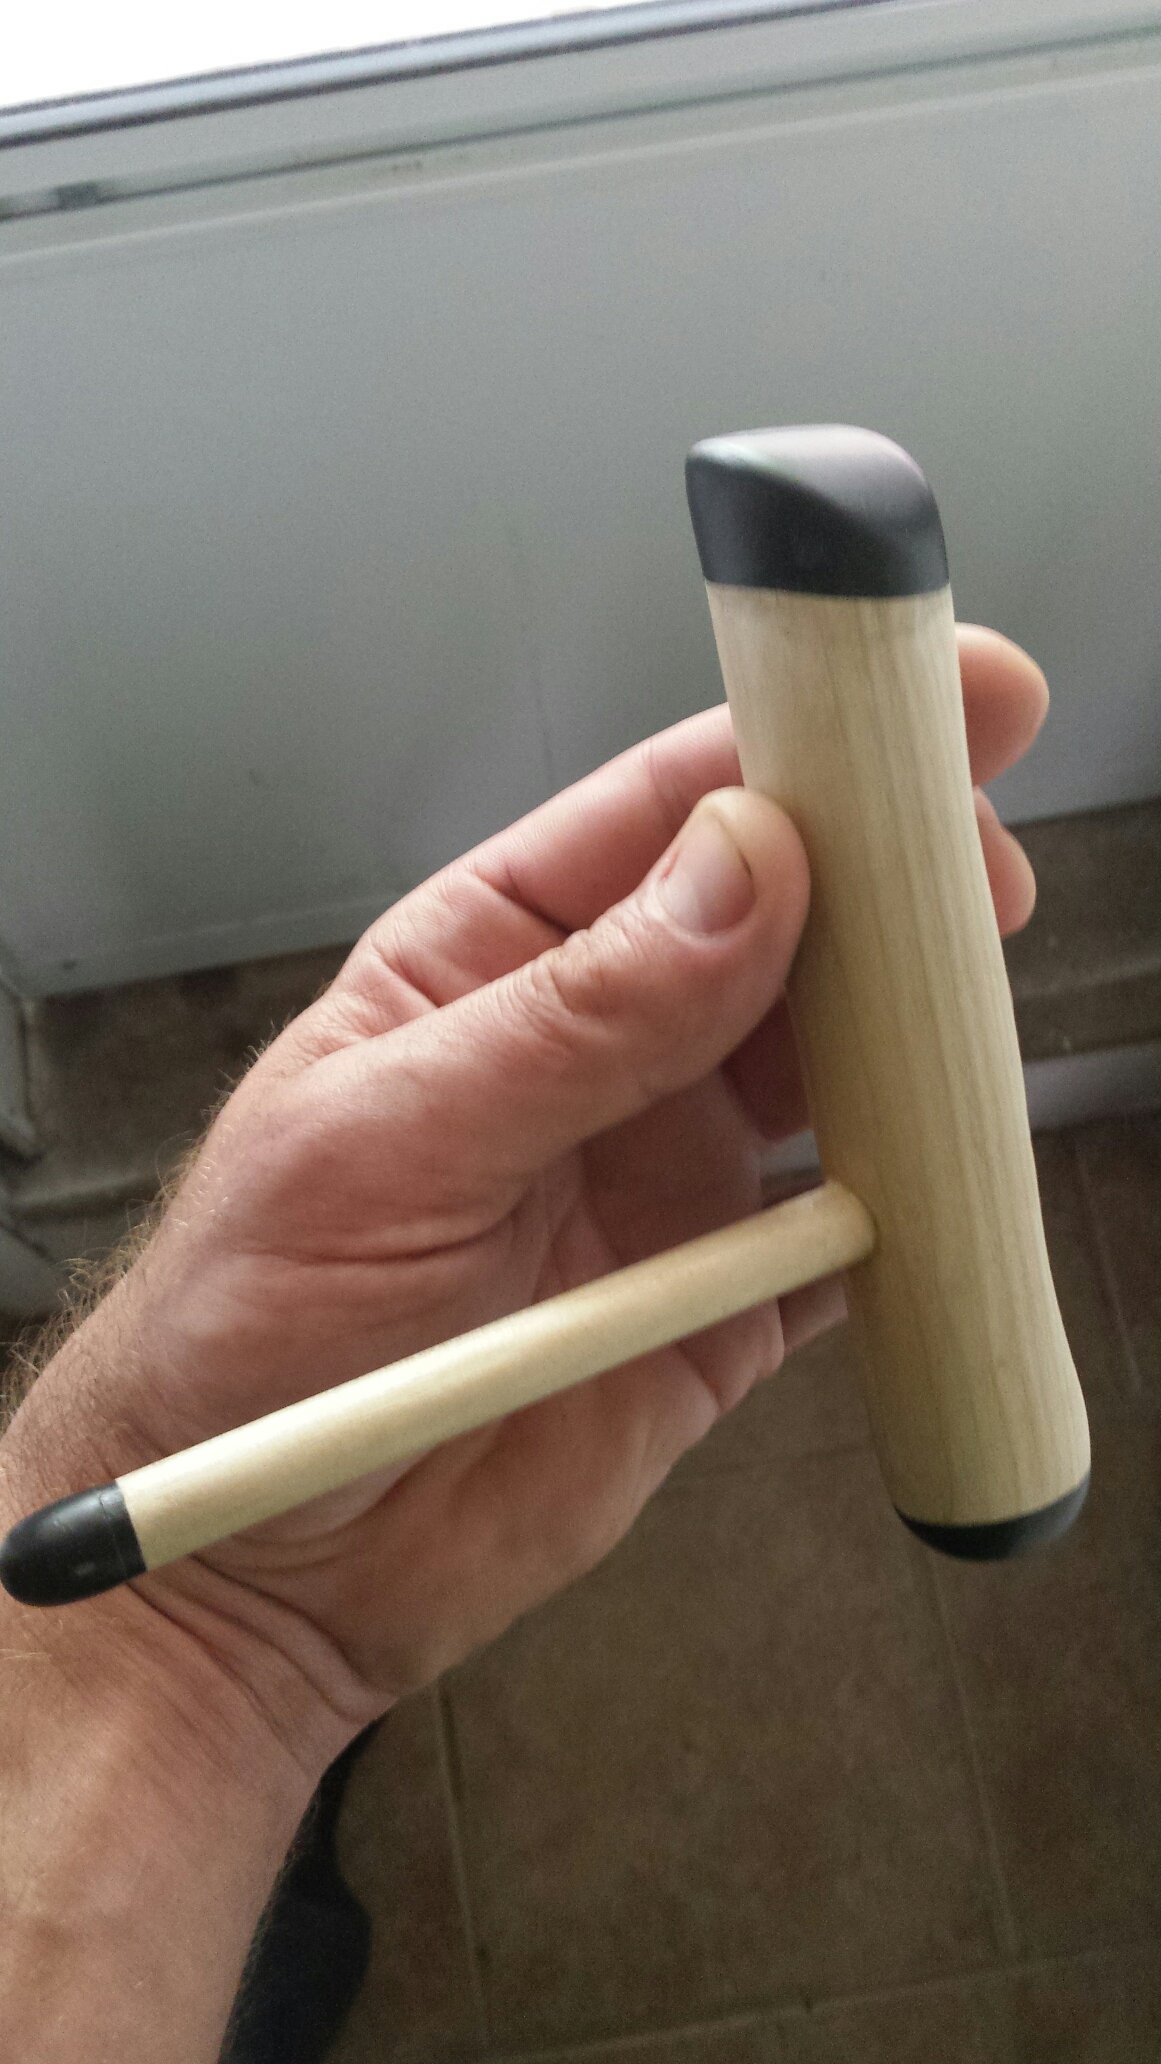
(Thank you Matt Johnson for designing and making these T-bars and L-bars tools!)
The T-bar stem is in the middle of the handle and the L-bar stem is offset.
Having the stem in the middle of the handle or as an offset provides different options to access muscles and muscle attachments that are tough to reach.
More about stems later. Let’s jump back to handles.
The Importance of a Handle
At the beginning of the post I had said that a handle makes it easy to hold a massage tool. Now I need to do some explaining because I’m not talking about holding a handle in the traditional sense–wrapping your hand around the handle and gripping.
I’m talking about using the handle to support your body weight. Think of parallel bars or push-up stands where you’re simply supporting your body weight on an apparatus.
Holding a Massage Tool
With a massage tool you are directing some of your body weight onto the handle of the tool.
If the massage tool is pinned between your hand and the tissue you’re working on, you can loosen your grip.
And if you add a guide finger/thumb next to the end of the stem of the massage tool, you can actually relax your “holding” hand.
Here’s what that looks like:
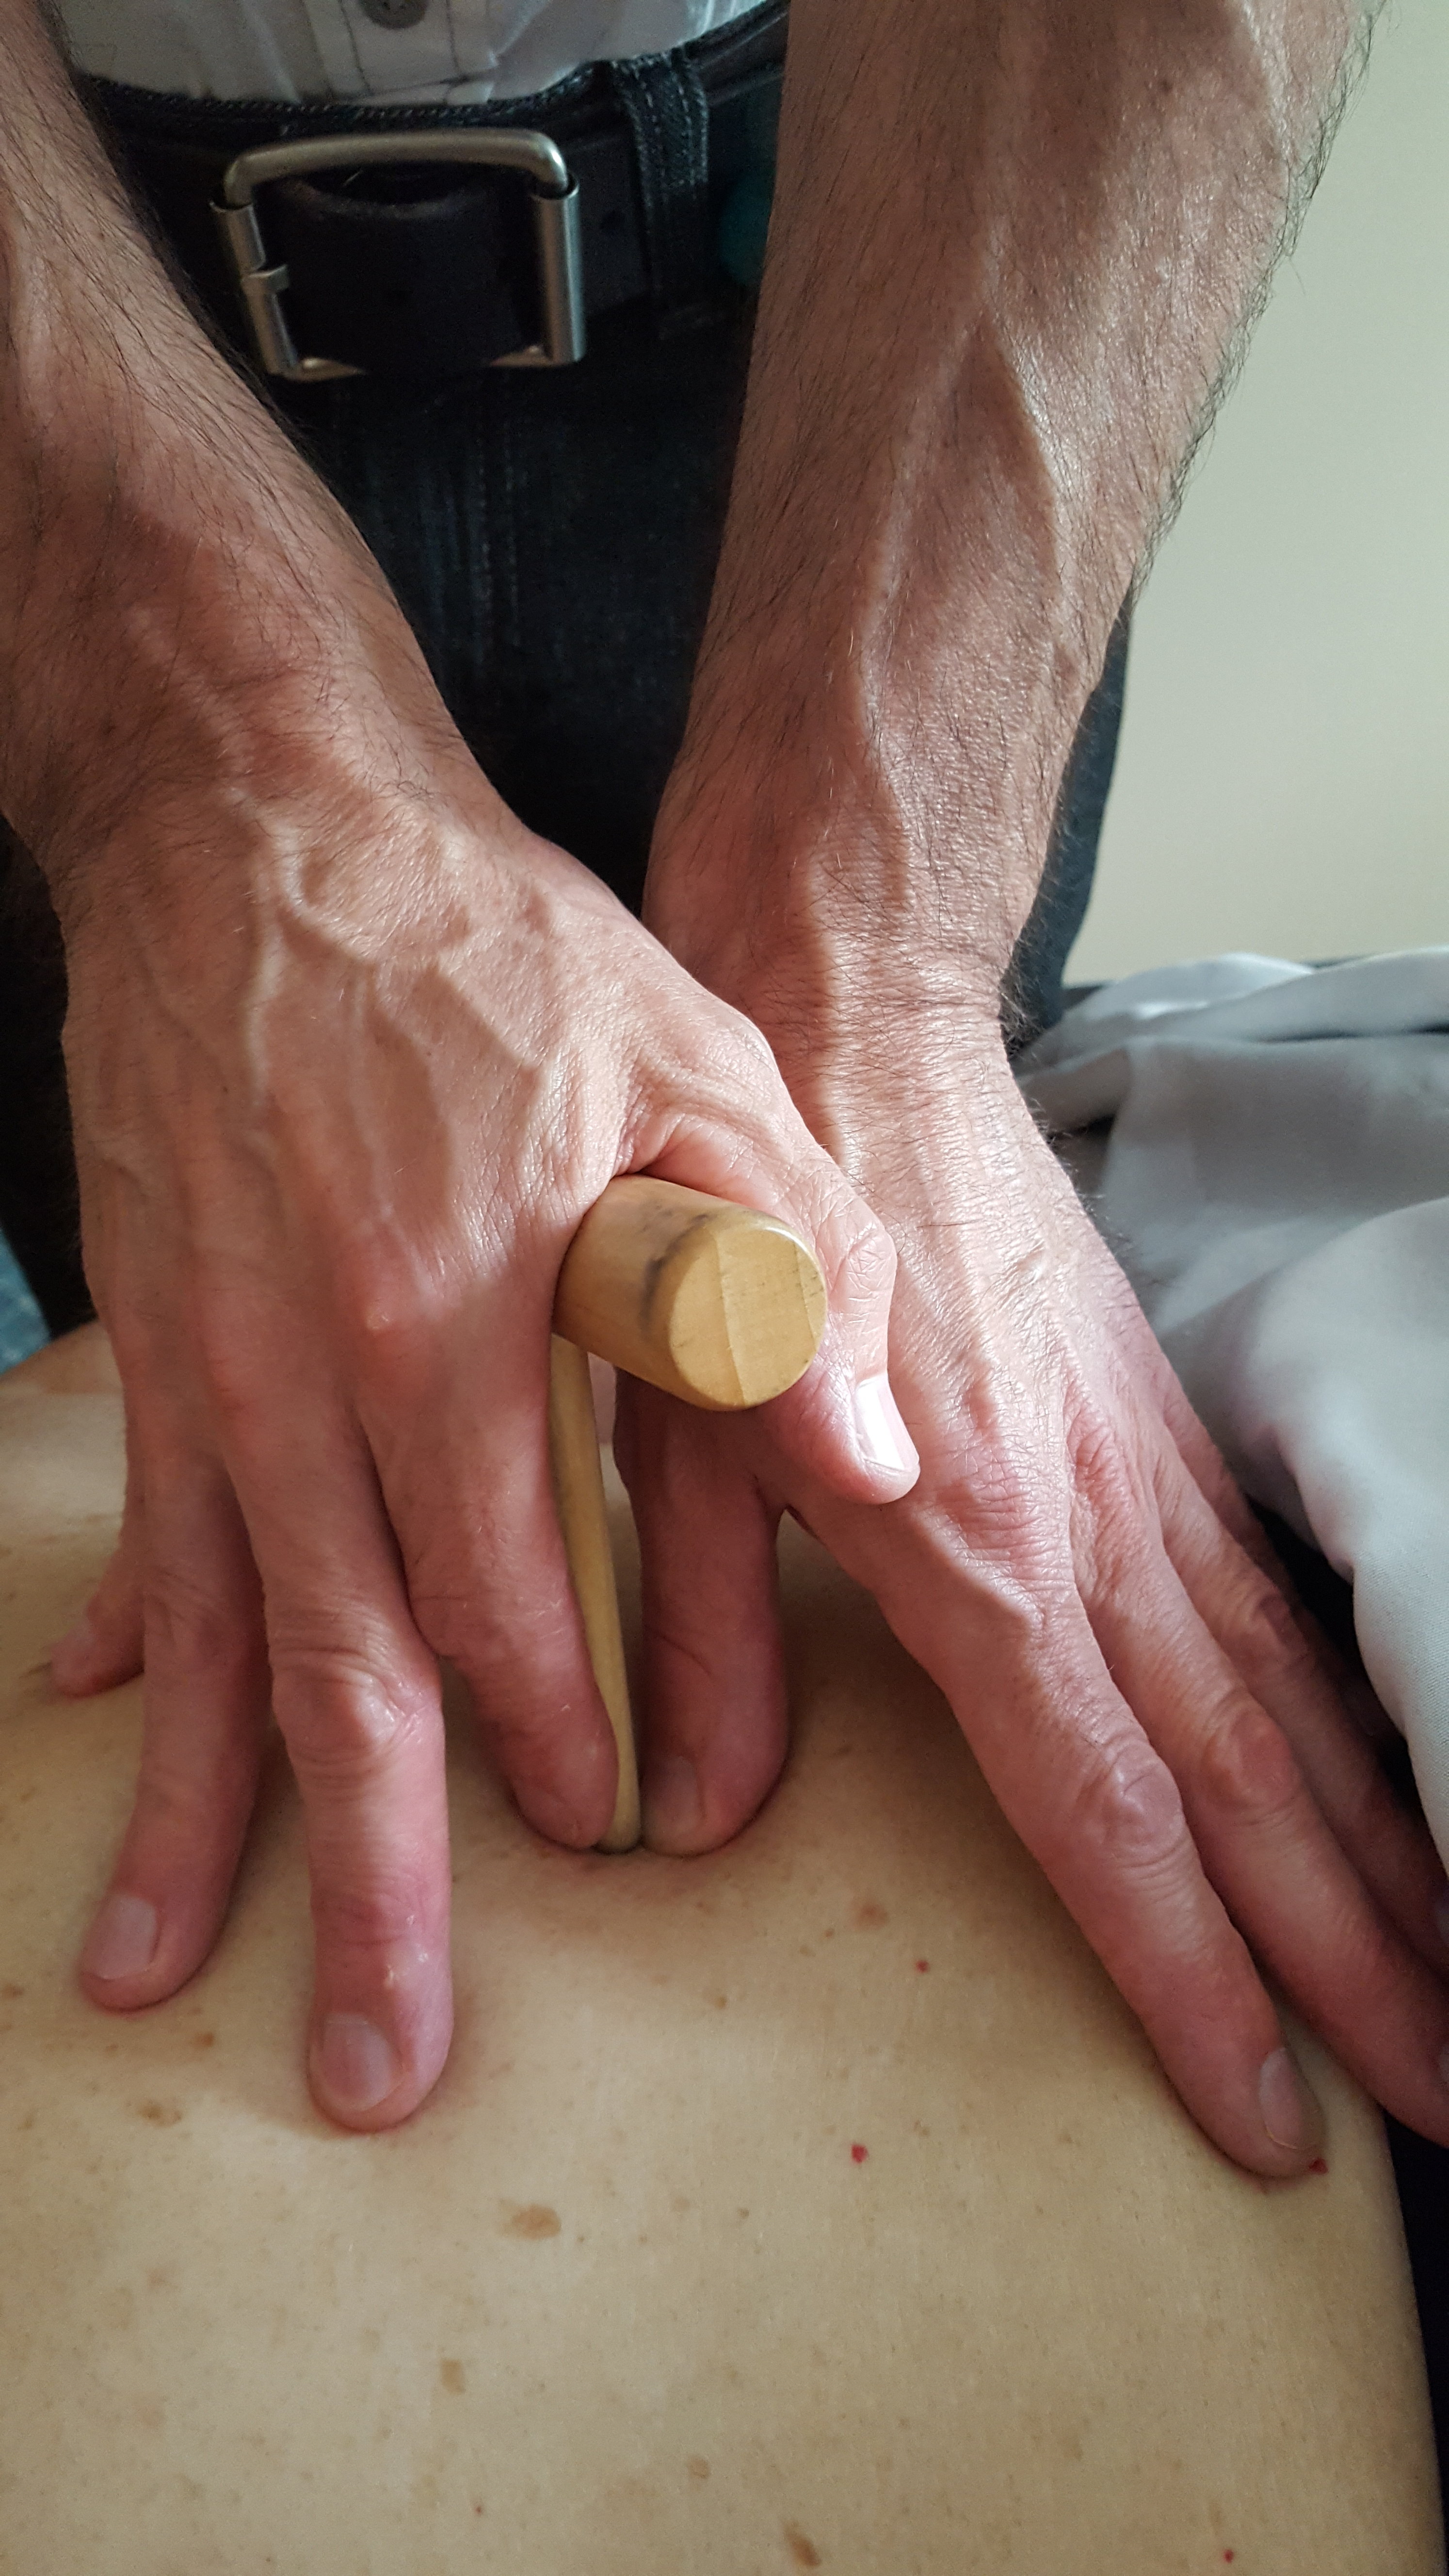
See how relaxed my hands are?
My guide fingers is helping to stabilize the tool. I’m also sensing how much pressure I am applying with my guide finger.
This all looks great, right? But when you actually go and try to hold a T-bar or L-bar without gripping you’re going to say–Mark, you’re a freakin’ liar–because it’s not going to work.
Why isn’t it going to work?
Because your table won’t be low enough. And that means you’re not going to be able to lean onto the massage tool handle with enough pressure to keep the tool upright without gripping.
This will help you figure out your table height.
Okay, I’ve hammered away about the handle thing enough.
Now, let’s bounce back L-bar and T-bar stems.
T-bar and L-bar Stems
Stems come in varying lengths and diameters.
They can simulate wide thumbs or small fingers.
The stems and end tips are what makes these tools extra fingers because if you use these tool you won’t have to use your own fingers to do precise detail work.
One afternoon I really jammed my middle finger.
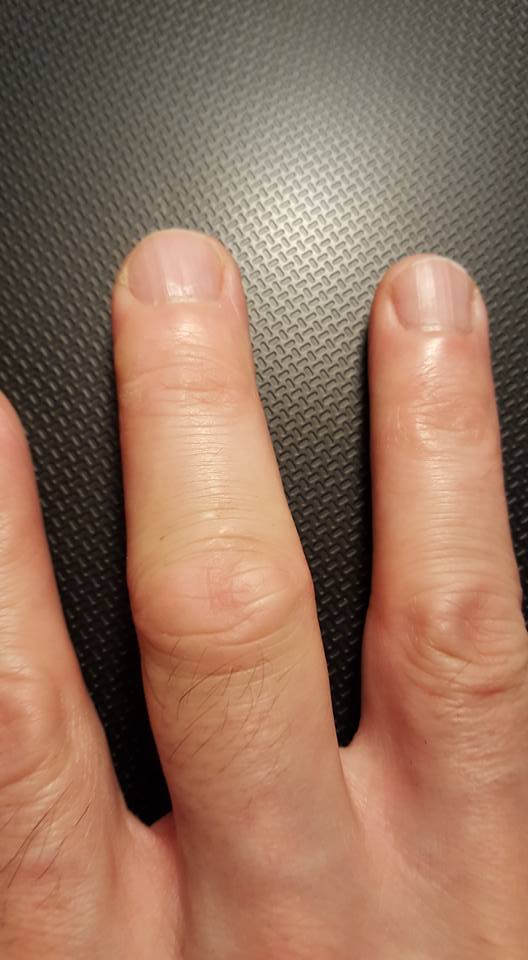
But I worked the next morning because I used a very long T-bar for detail work and it allowed me to keep my injured finger straight.
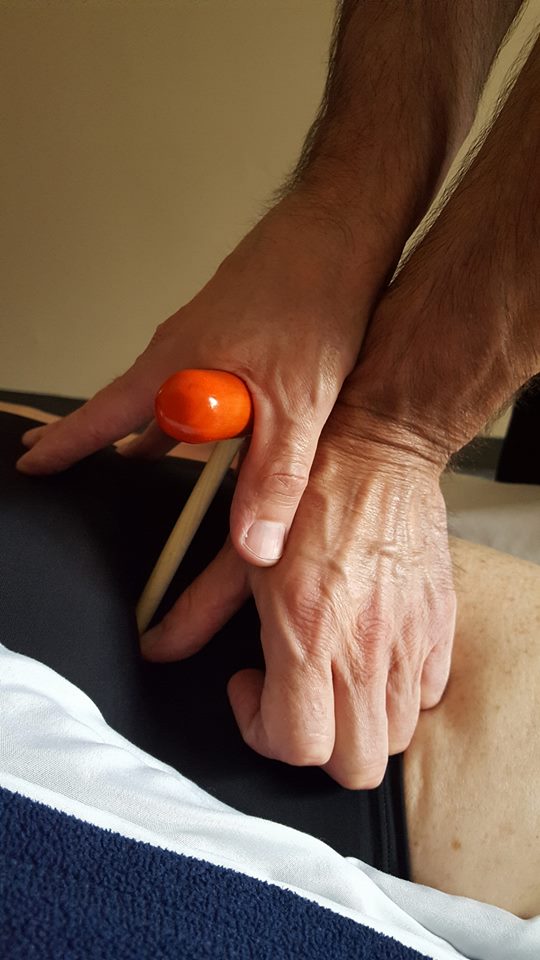
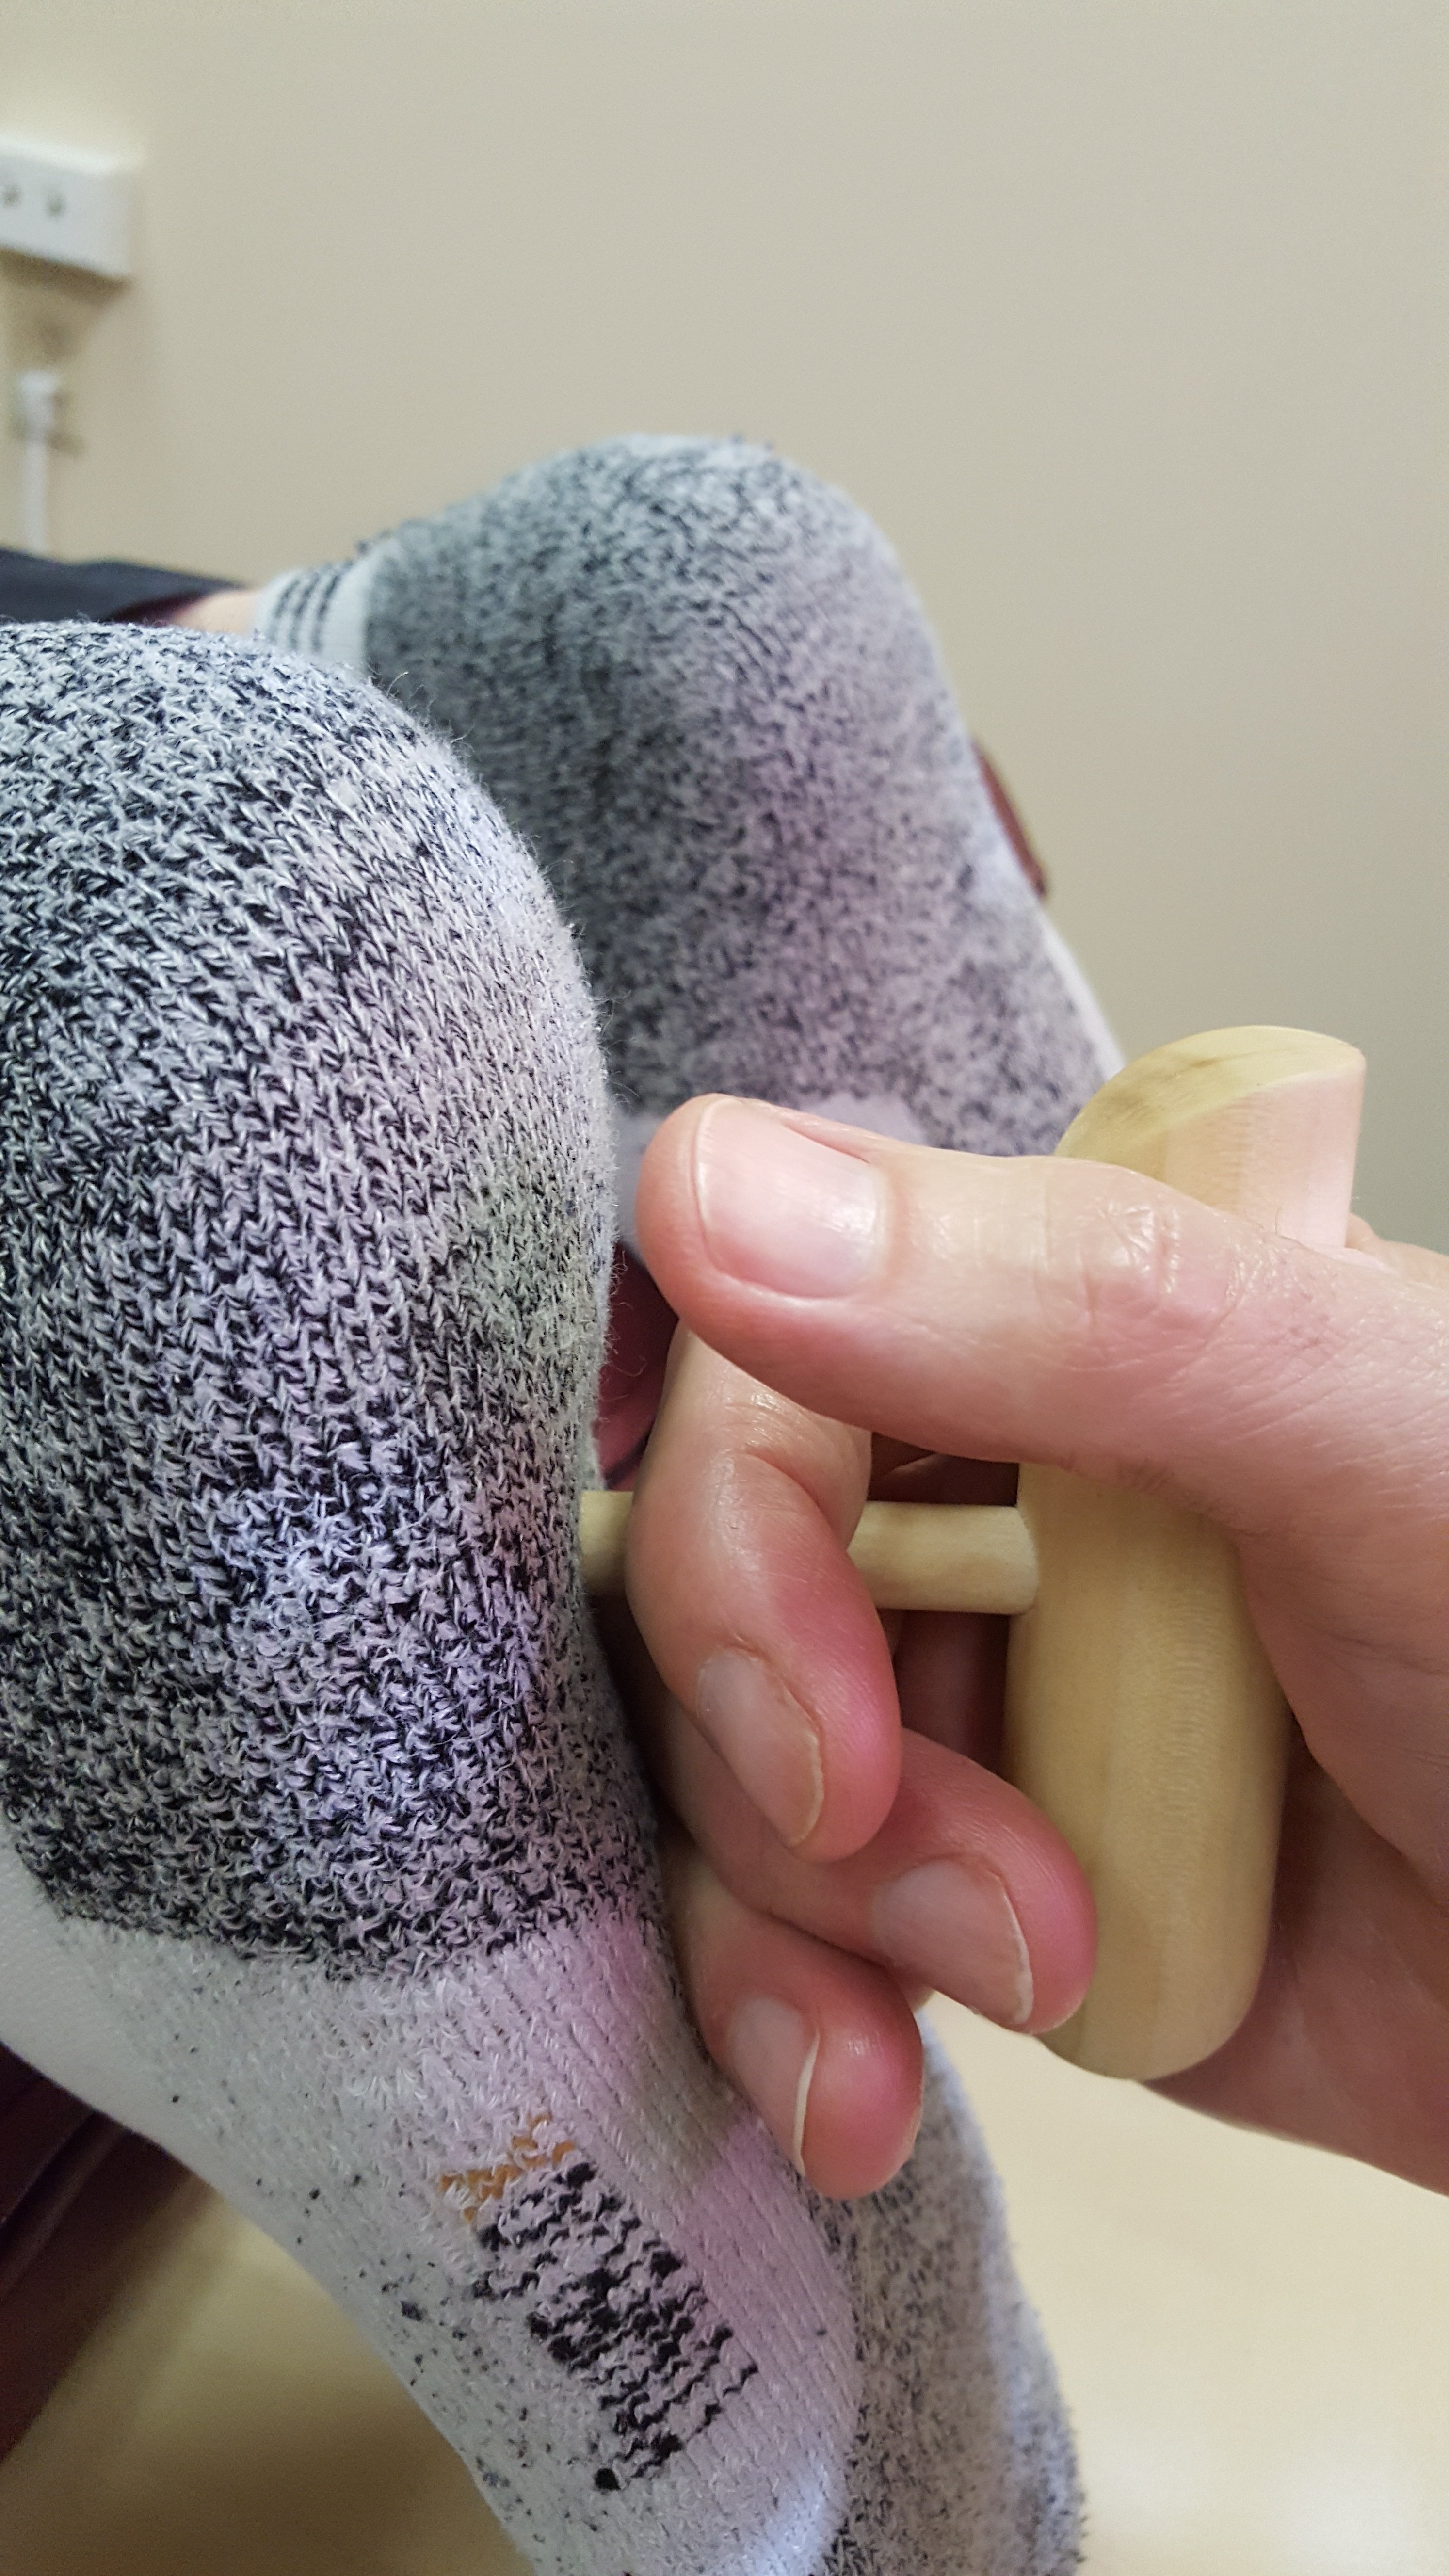
Short stems work great in areas where it’s easy to access muscles, like feet…
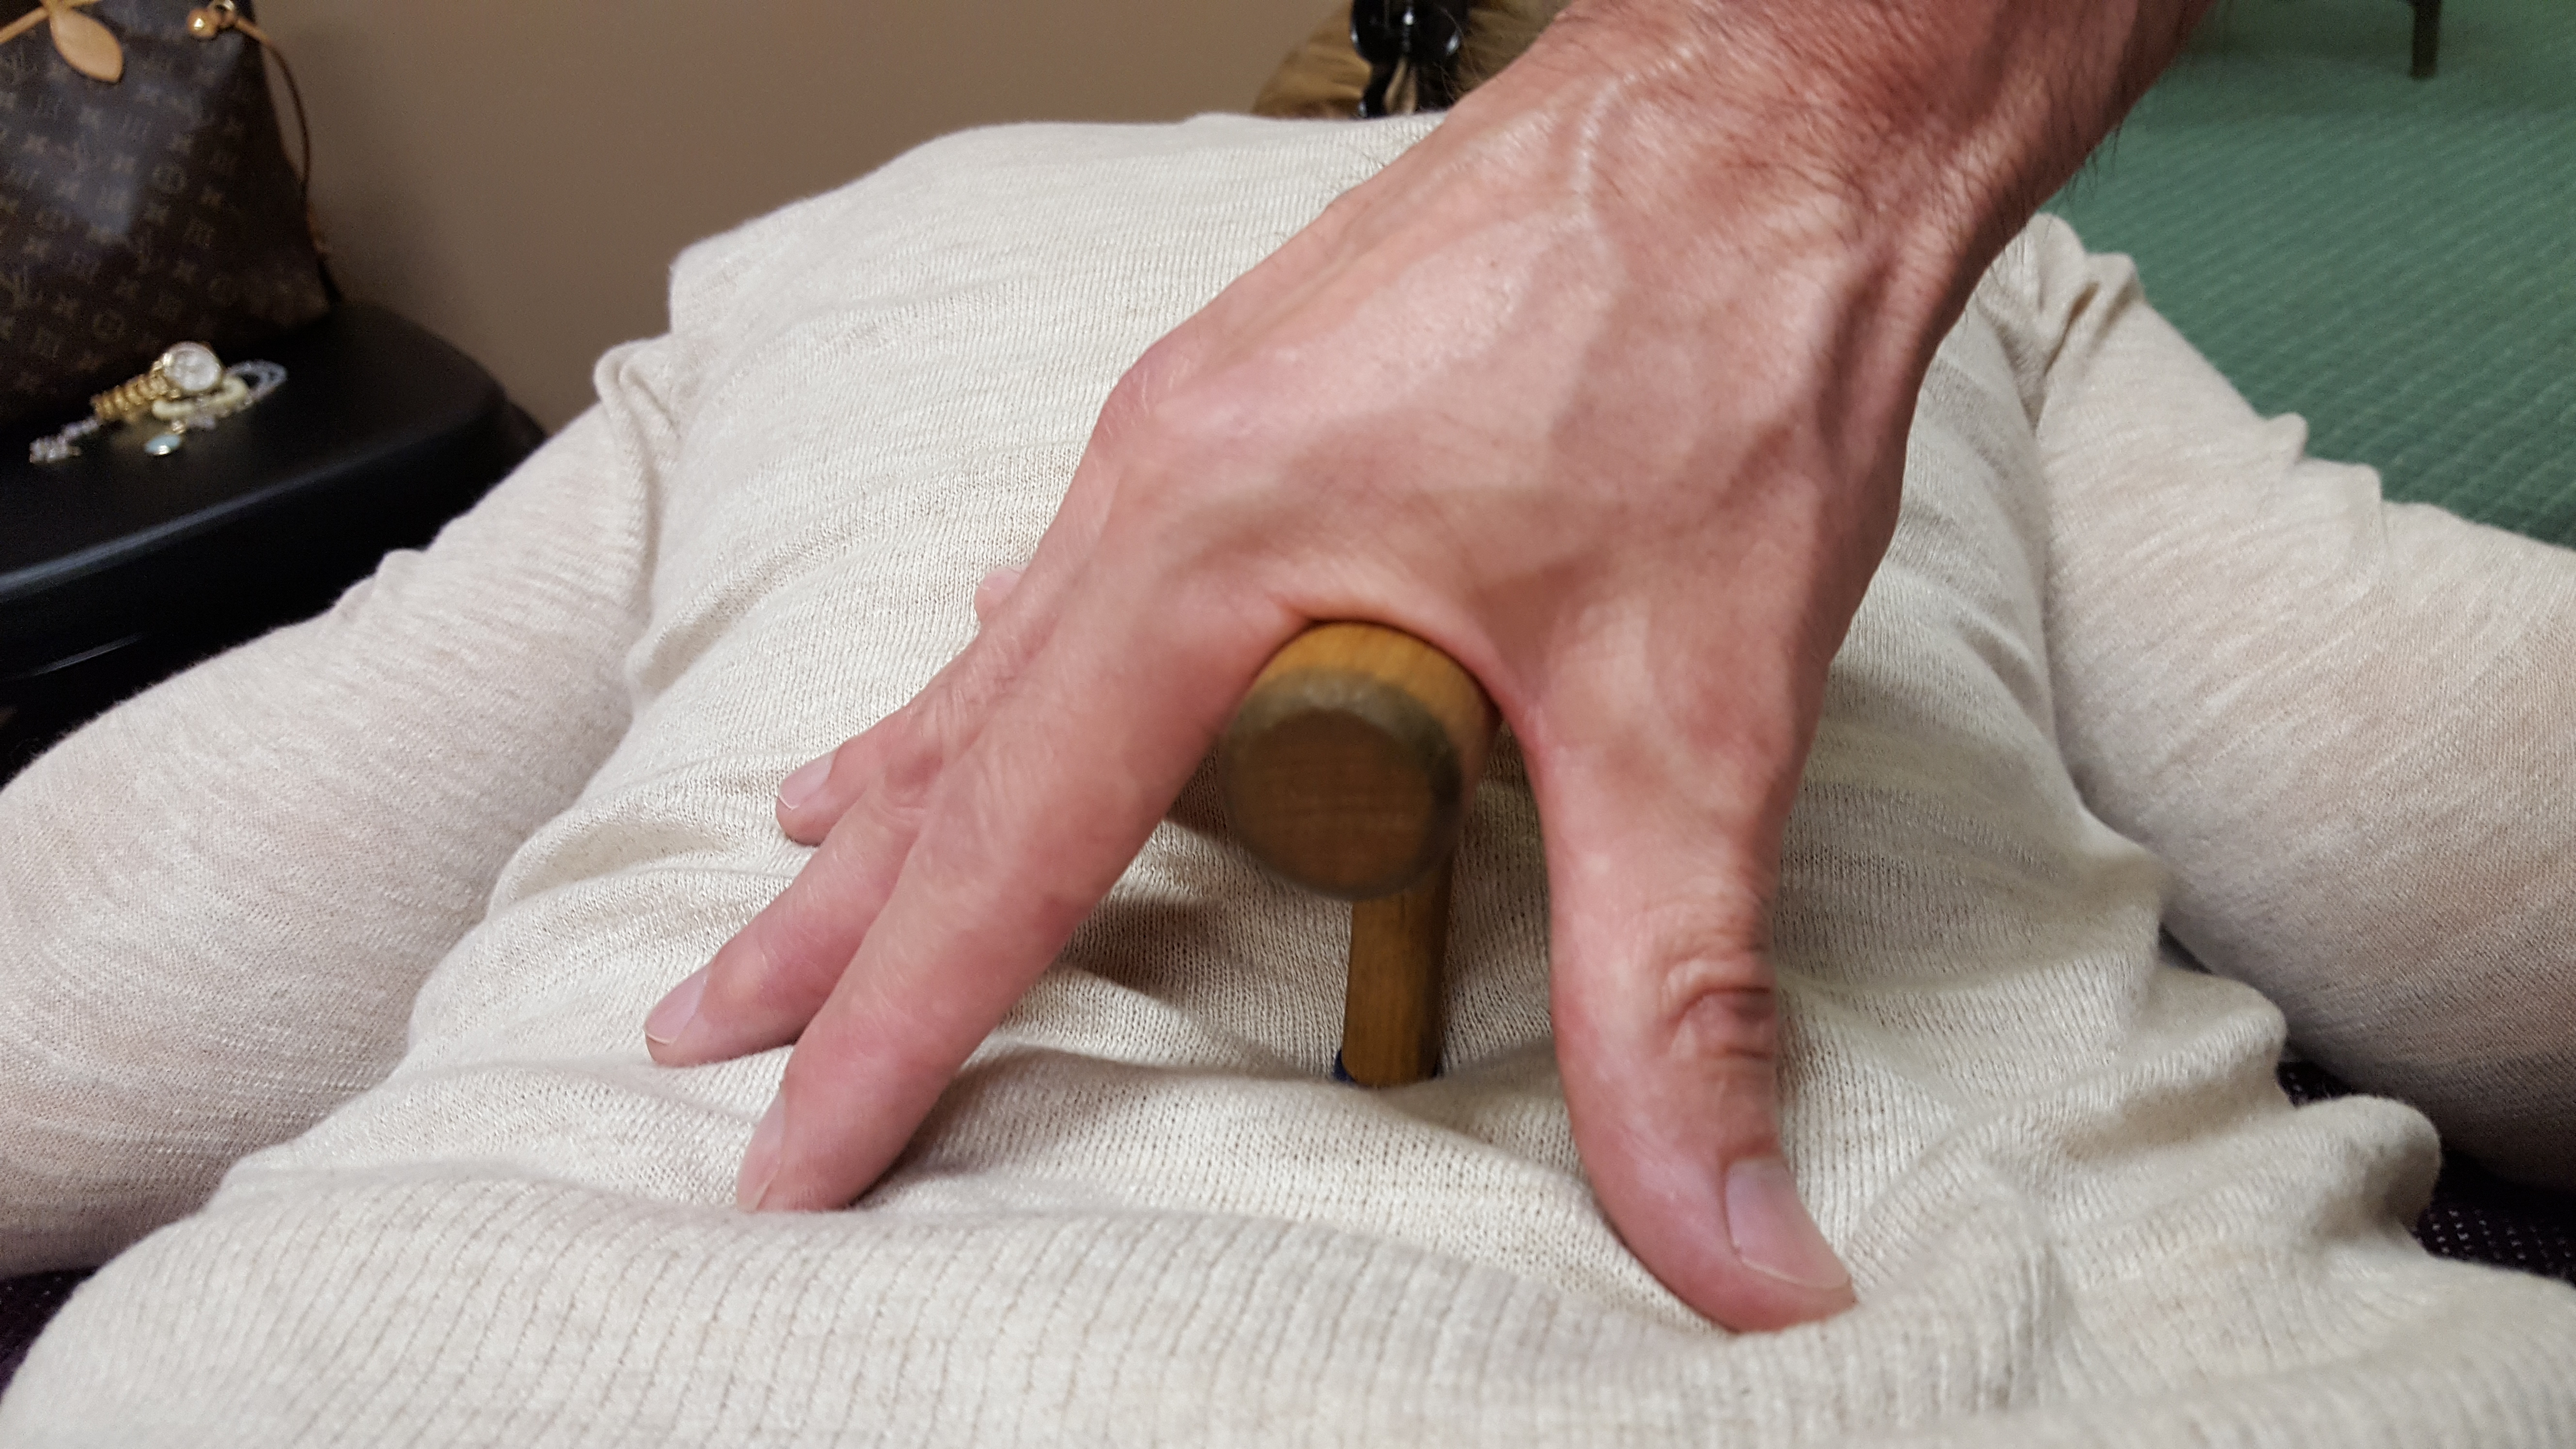
…or multifidus and rotatores.
I have tons of massage tools with stems lengths that range from shorter than my thumb to longer than my 3rd finger.

Mark Liskey
But understand, I am a massage tool addict.
You don’t need a thousand massage tools.
Just using one will be a game changer.
If you not sure which one, email me.
By the way, Matt Johnson will make you anything you want and it won’t cost you an arm and a leg. Let me know and I’ll put you in touch with Matt.
How to Save Your Thumbs as a Massage Therapist Quick Sketch
(1) Select a massage tool with a handle and a stem.
(2) Lean into the massage tool so that you can pin it between your hand and the tissue you’re working on.
(3) Relax your hand.
(4) Add a guide finger/thumb to help stabilize the tool and regulate pressure.
(5) Experiment with stems of different lengths and diameters.
Once you start using tools for detail work, you’ll never go back to burning out your thumbs and fingers:-)
Oh, and I have an email group. It’s free. Just sign up below.
